


Get Quote
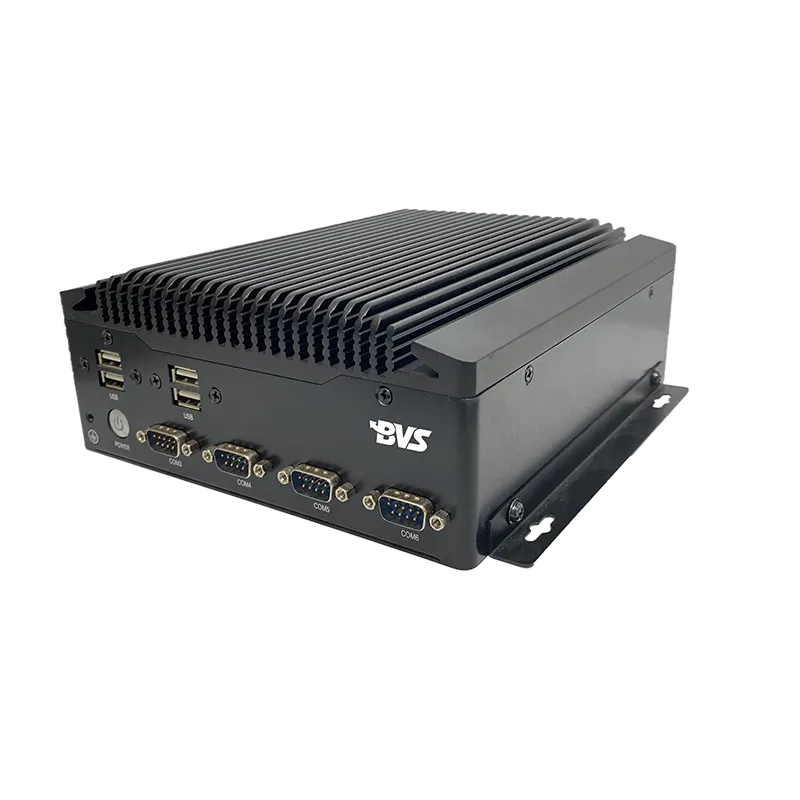
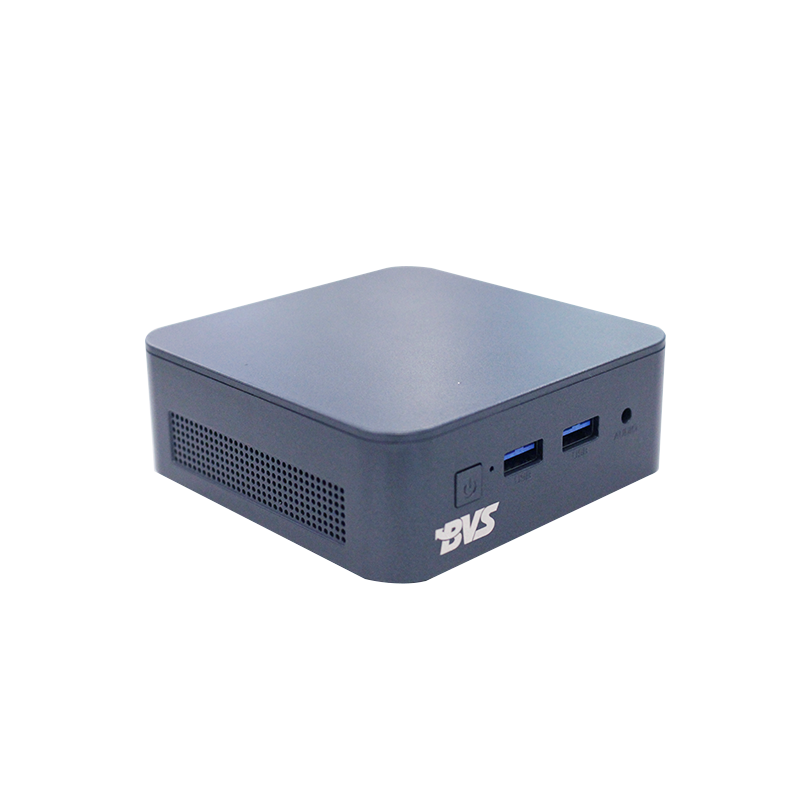
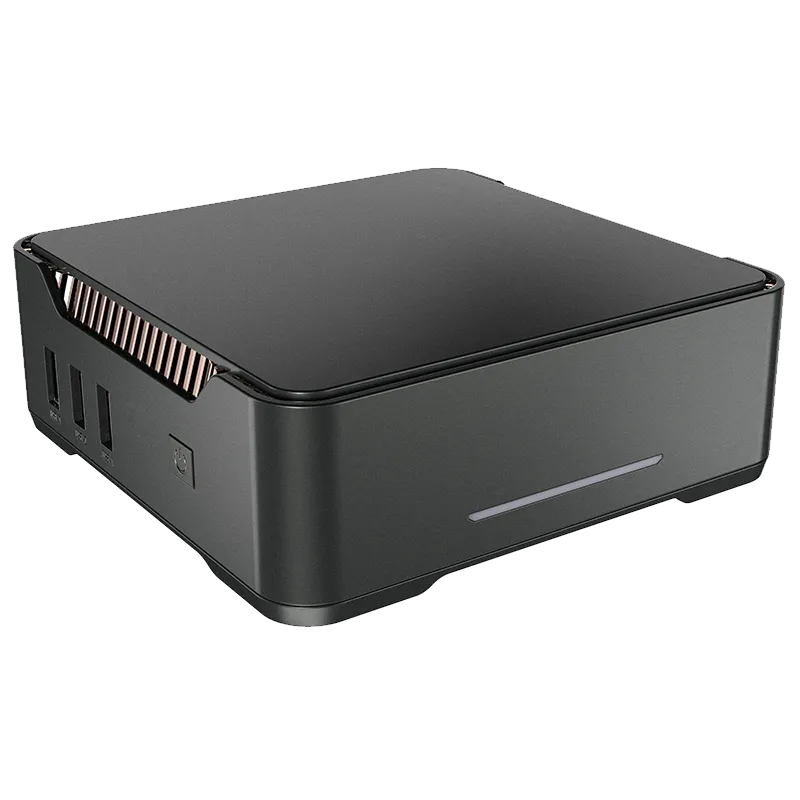
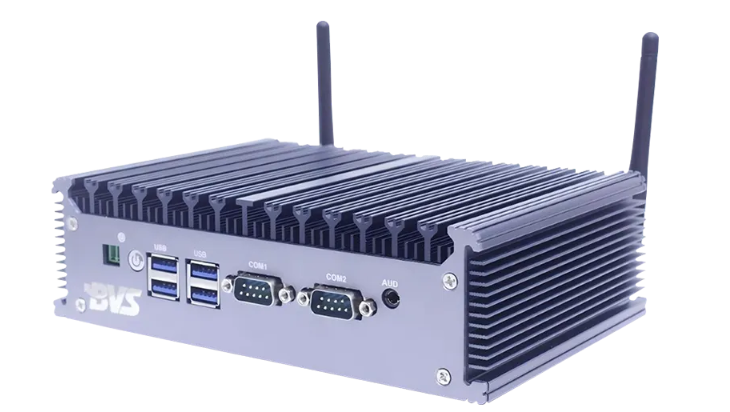
Industrial mini PCs are becoming increasingly popular for applications that require compact, powerful, and reliable computing solutions. These small devices provide the same computing power as traditional desktops but in a much smaller form factor, making them perfect for industrial environments. Whether you're running automated systems, monitoring equipment, or handling business applications, a fanless mini PC offers the durability and efficiency needed for these tasks.
In this guide, we’ll walk you through the installation process of setting up your industrial mini PC with Windows 10. We will also provide troubleshooting solutions for common problems and explore some advanced settings you might want to configure. With these steps, you can get your fanless mini PC up and running in no time.
Before diving into the software setup, make sure you have all the necessary hardware in place for the installation:
1. Power Supply: Plug the power cable into the industrial mini PC’s power socket and connect it to a power outlet.
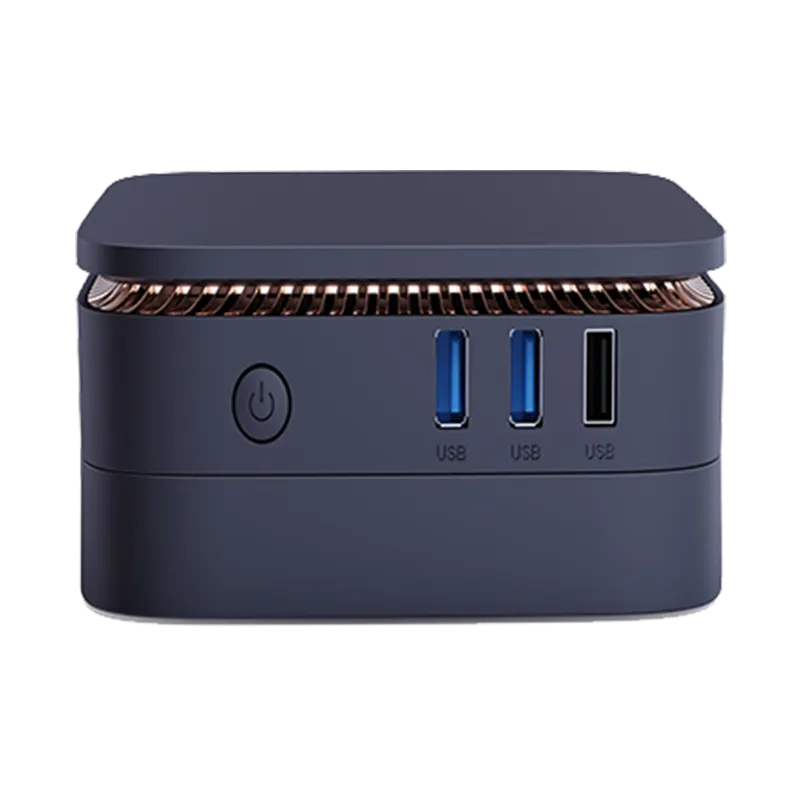
2. Keyboard and Mouse: Connect a USB keyboard and a USB mouse to the mini PC via available USB ports. If you're using a fanless mini PC, ensure that the keyboard and mouse are compatible with your system.
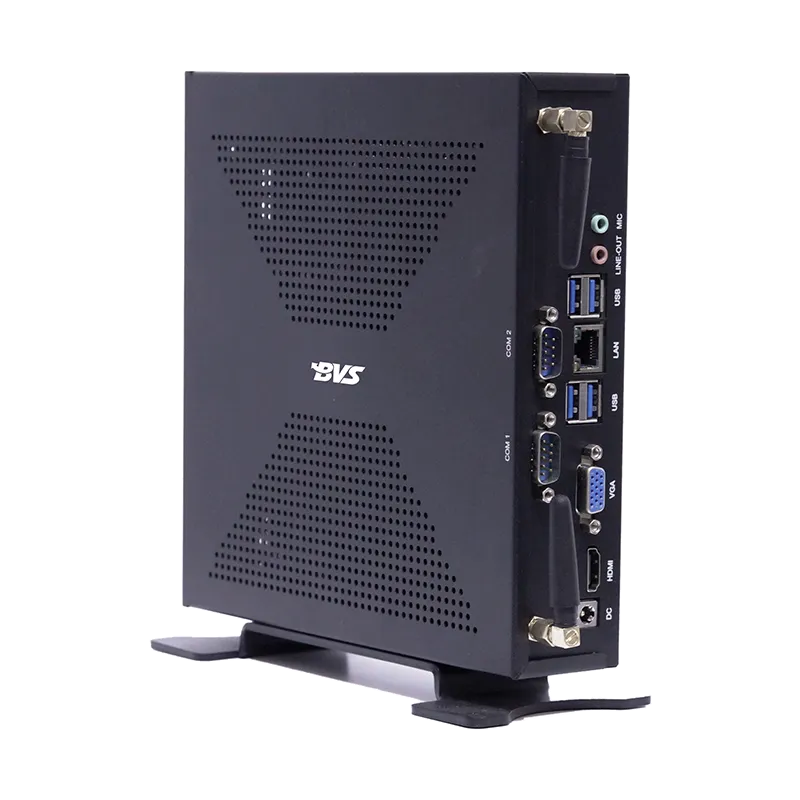
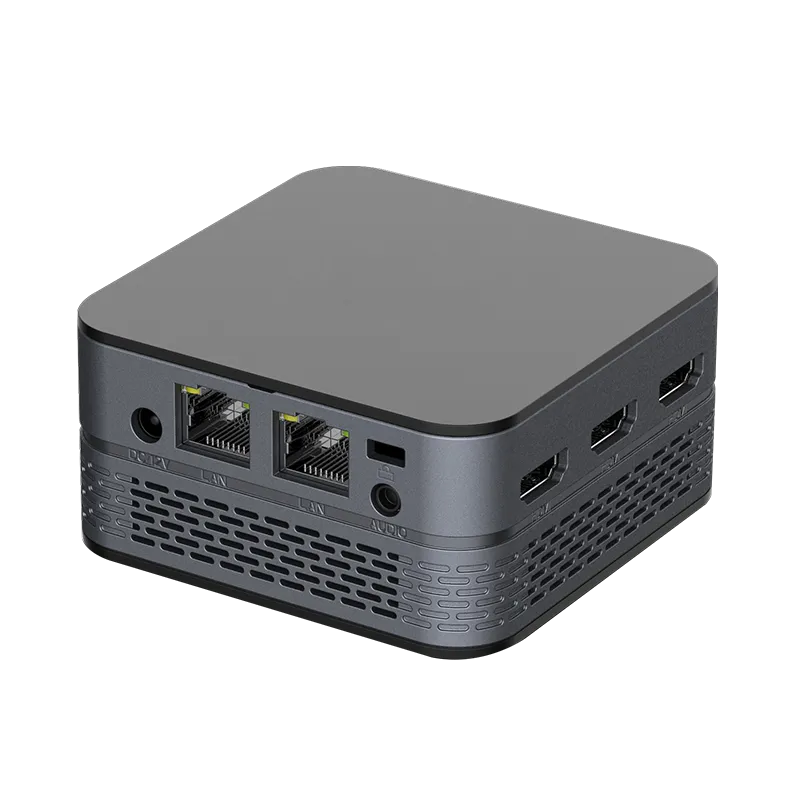
3. Display: Use an HDMI cable to connect the mini PC to your monitor or TV. Make sure the monitor is powered on and set to the correct HDMI input. If the input is incorrect, you may encounter a "No Signal" message on the screen.
4. Network: Ensure your mini PC is connected to a network via Ethernet or Wi-Fi, depending on your model’s capabilities. Some industrial mini PCs support Wi-Fi 6 or Wi-Fi 5, which will provide better speeds and range than older wireless standards.
Once you’ve connected everything, power on the industrial mini PC by pressing the power button.
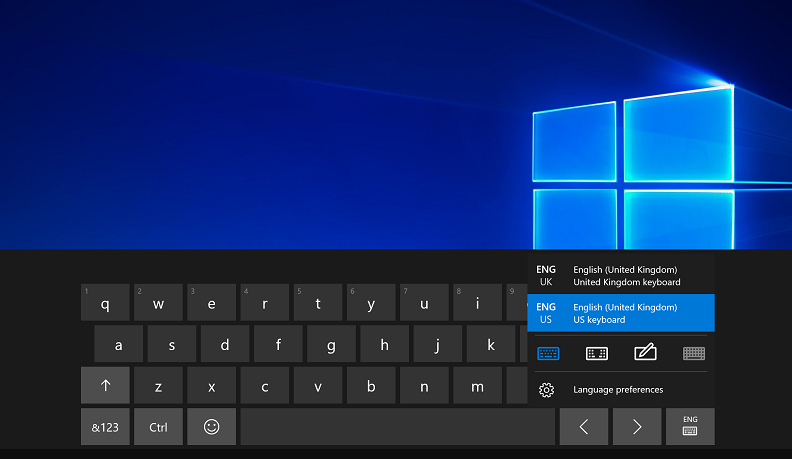
After powering on your industrial mini PC, Windows 10 will begin the initial setup process. Follow the steps below to configure the system:
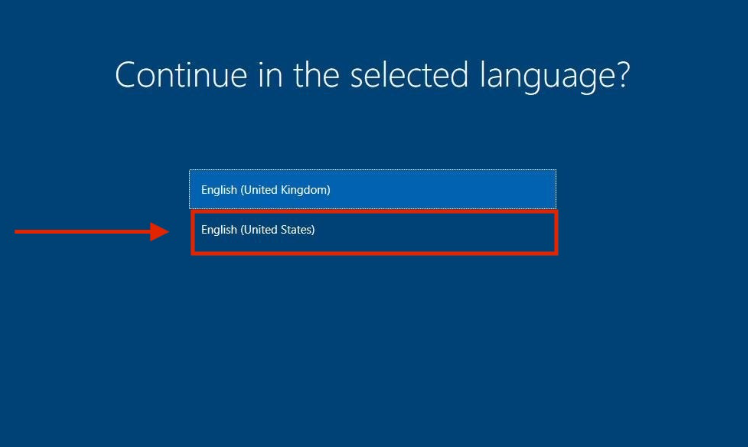
2. Keyboard Layout:
Windows will prompt you to select the keyboard layout you want to use. Choose your desired layout for easy typing and navigation.
3. Accept the License Terms:
Read and accept the Windows 10 License Terms to proceed with the installation.
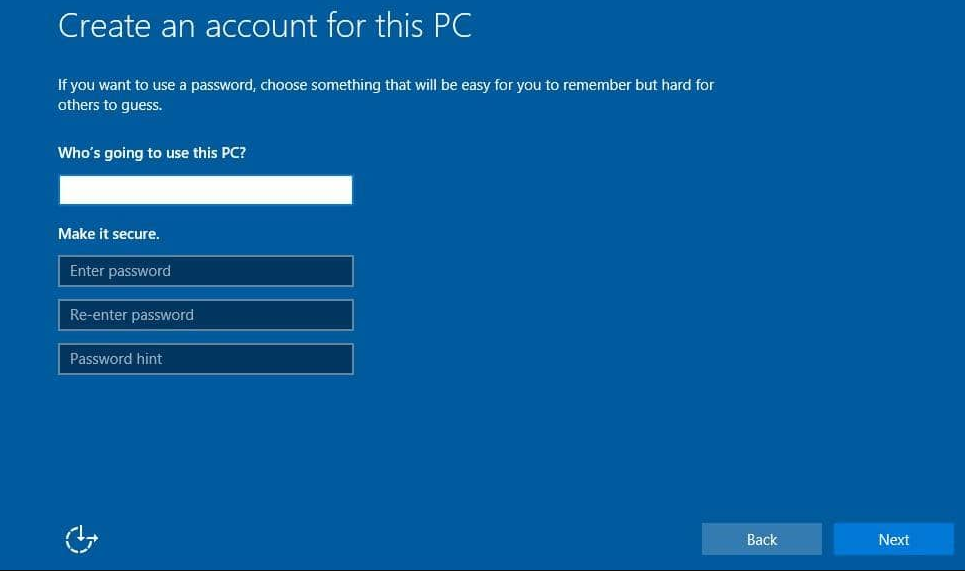
4. Create User Account:
You’ll be asked to create a user account to log into your industrial mini PC. Enter a name and password for the account and select any relevant privacy settings.
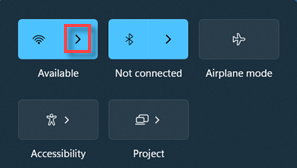
5. Wi-Fi and Network Setup:
If your fanless mini PC supports Wi-Fi, connect to a local wireless network. If you’re using Ethernet, this step will be skipped.
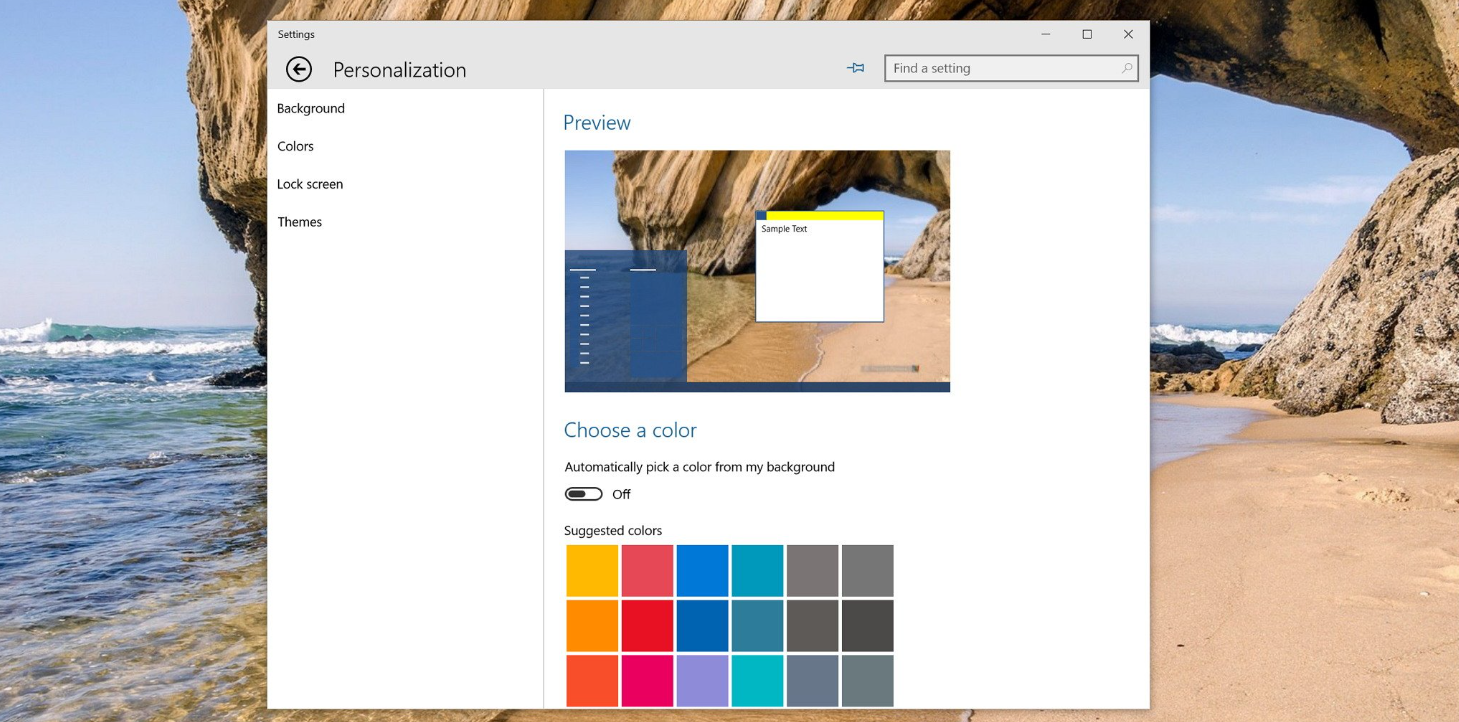
6. Personalize Windows:
You can further personalize your Windows settings at this stage, such as enabling Cortana or choosing other preferences like themes and colors.
After completing these steps, Windows 10 will finalize the setup process and present you with the desktop.
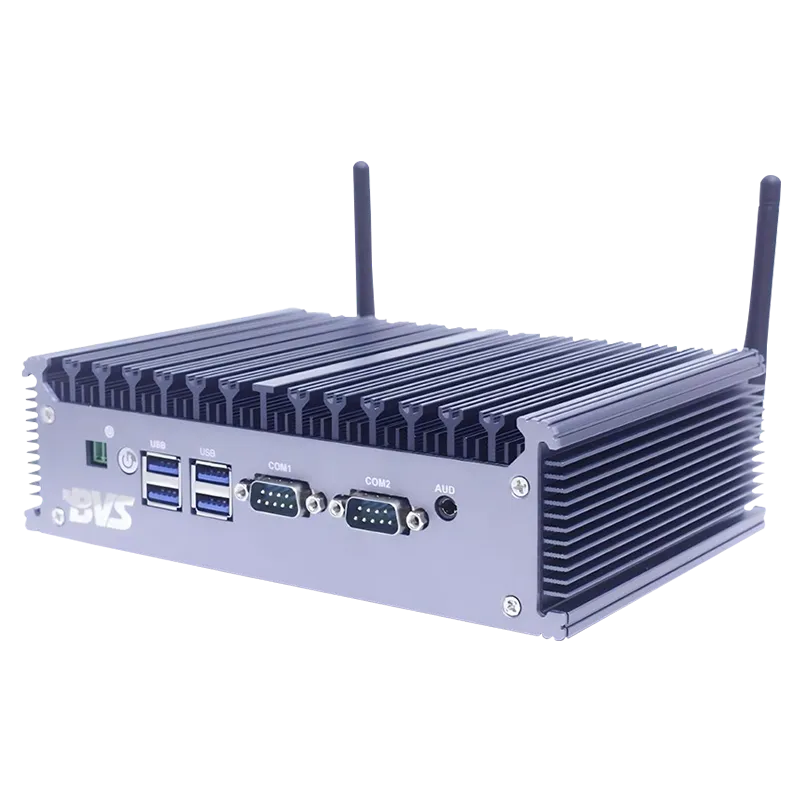
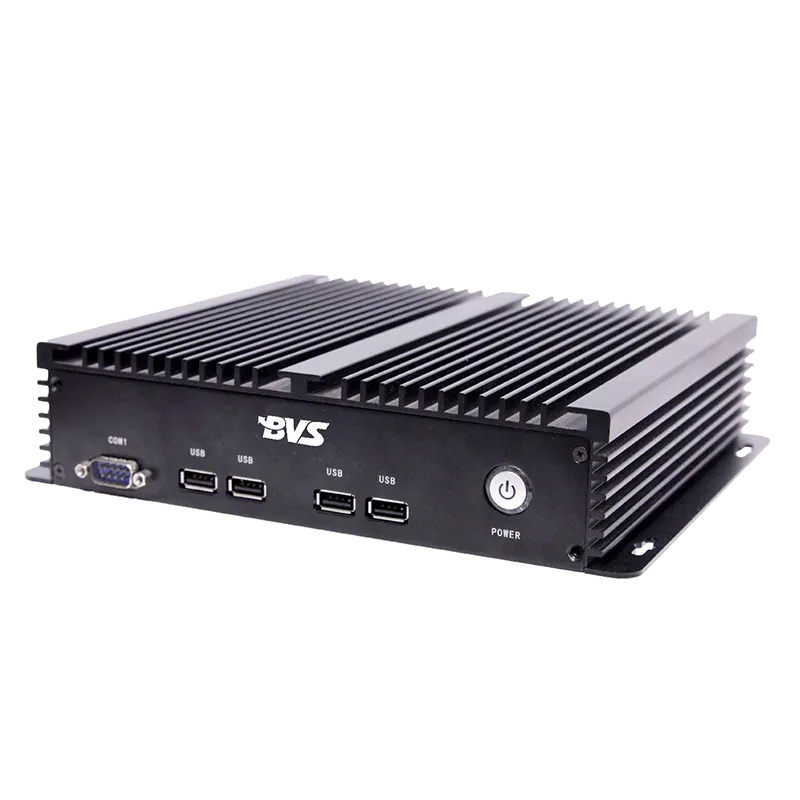
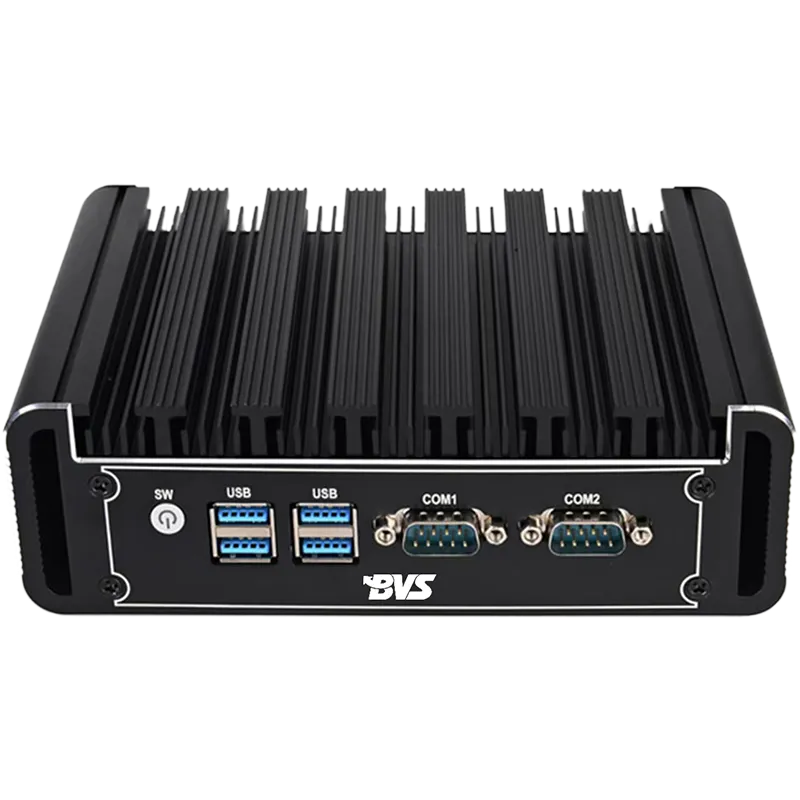
When setting up your industrial mini PC, it’s essential to understand the key features that make these devices ideal for industrial applications. These include:
|
Feature |
Industrial Mini PC |
|
Processor |
Intel Core i3/i5/i7 or equivalent |
|
Storage |
32GB/64GB/128GB SSD or HDD |
|
RAM |
4GB/8GB/16GB DDR4 |
|
Graphics |
Intel UHD Graphics or better (usually not) |
|
Wi-Fi |
2.4/5 GHz Wi-Fi 5/6 |
|
USB Ports |
2x USB 3.0, 2x USB 2.0 |
|
HDMI Output |
Supports up to 4K UHD |
|
Fanless Design |
Yes, for quieter operation |
|
Operating System |
Windows 10 (or Linux-based) |
These specs make the industrial mini PC suitable for a wide range of applications, from industrial automation and control to business processing and embedded systems.
While installing or using your fanless mini PC, you may encounter some common issues. Below are some solutions to address these problems:
If the industrial mini PC powers on but the screen remains blank, follow these steps:
Check HDMI Connections: Ensure that the HDMI cable is properly connected to both the mini PC and the monitor.
Select Correct Input: Verify that your monitor is set to the correct HDMI input. If unsure, consult your monitor’s manual for the correct input selection.
Try a Different Cable: If the display issue persists, try using a different HDMI cable or monitor.
If your mini PC has limited storage (e.g., a 32GB model) and doesn't have enough space for Windows 10 updates, you can free up space by:
Adding a Micro SD card or external hard drive for additional storage.
Deleting unnecessary files in the Windows directory, specifically the Software Distribution folder used for updates.
Uninstalling unused programs to recover space.
If you forget your Windows login password or want to perform a factory reset, follow these steps:
Step 1: Click the power button, then hold down the shift key and click Restart.
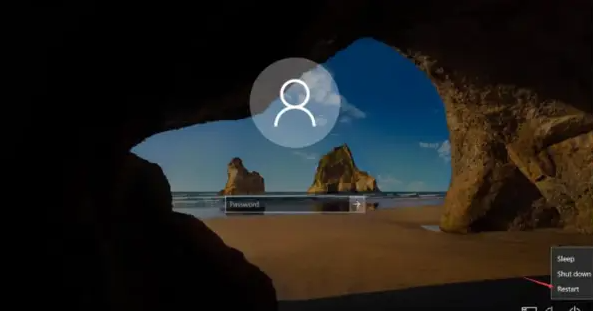
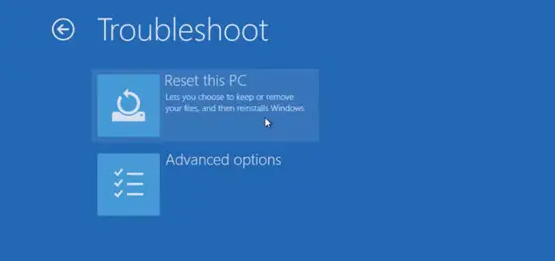
Step 2: Select Troubleshoot on this screen.

Step 3: Select Reset this PC.
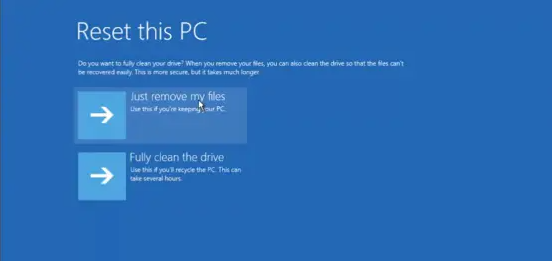
Step 4: Select Delete everything.

Step 5: Select Delete only my files.
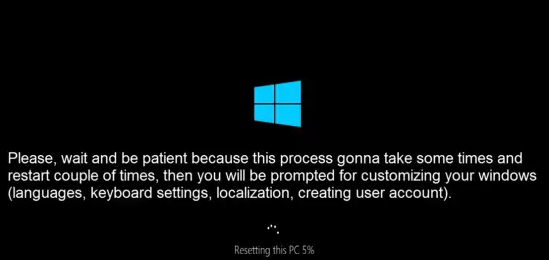
Step 6: The whole process may take up to 30 minutes, please be patient.
To enable your fanless mini PC to power on automatically after a power outage:
1. Reboot your system and press the DEL key to enter the BIOS.
2. In the Boot Options section, enable the Auto Power On feature. This ensures that the mini PC will restart automatically after a power interruption.
If you have installed a 2.5" SSD or HDD but it’s not being recognized by Windows 10, follow these steps:
1. Open Disk Management and ensure the new disk is properly partitioned. Unpartitioned disks will not appear in Windows.
2. Use the Windows Disk Management Tool or third-party software to partition and format the drive.
To access the BIOS of your industrial mini PC:
1. Power on your fanless mini PC and press DEL or F2 (depending on your device) during boot to enter the BIOS menu.
2. From the BIOS menu, you can configure boot settings, enable or disable devices, and customize other system preferences.
The BVSIPC Industrial Mini PC offers a compact yet powerful solution for industrial computing. With its fanless design, efficient performance, and Windows 10 compatibility, it’s an ideal choice for a variety of applications, from automation to business management.
Take advantage of our limited-time discount on the BVSIPC Industrial Mini PC. Whether you’re automating a production line or managing data, this industrial computer will meet all your needs with reliability and efficiency.
For more details and to claim your exclusive discount, visit BVSIPC Industrial Mini PC.
If you want to know more about industrial mini pc, please click the follows:
① Solving Common Issues with Industrial Mini PCs: Expert Solutions and Insights
② Troubleshooting Your Industrial Mini PC: Solutions to Common Issues
Troubleshooting Common Issues with Industrial Mini PCs: A Guide for Efficient Problem-Solving


Click to confirm
Cancel
